html formatting – the basics that everyone should know.

  1. There are times when a little knowledge of basic HTML goes a really long way.

Some elements don’t come with a WYSIWYG editor, but hey, you still want to be able to format that text. so here is our quick cheat sheet, that anyone can use

WYSIWYG stands for What You See Is What You Get.
Many web text editors are WYSIWYG. They include at the top of the editing window to chnage your text to bold, coloured, lists, and other paragraph options. This one example below.

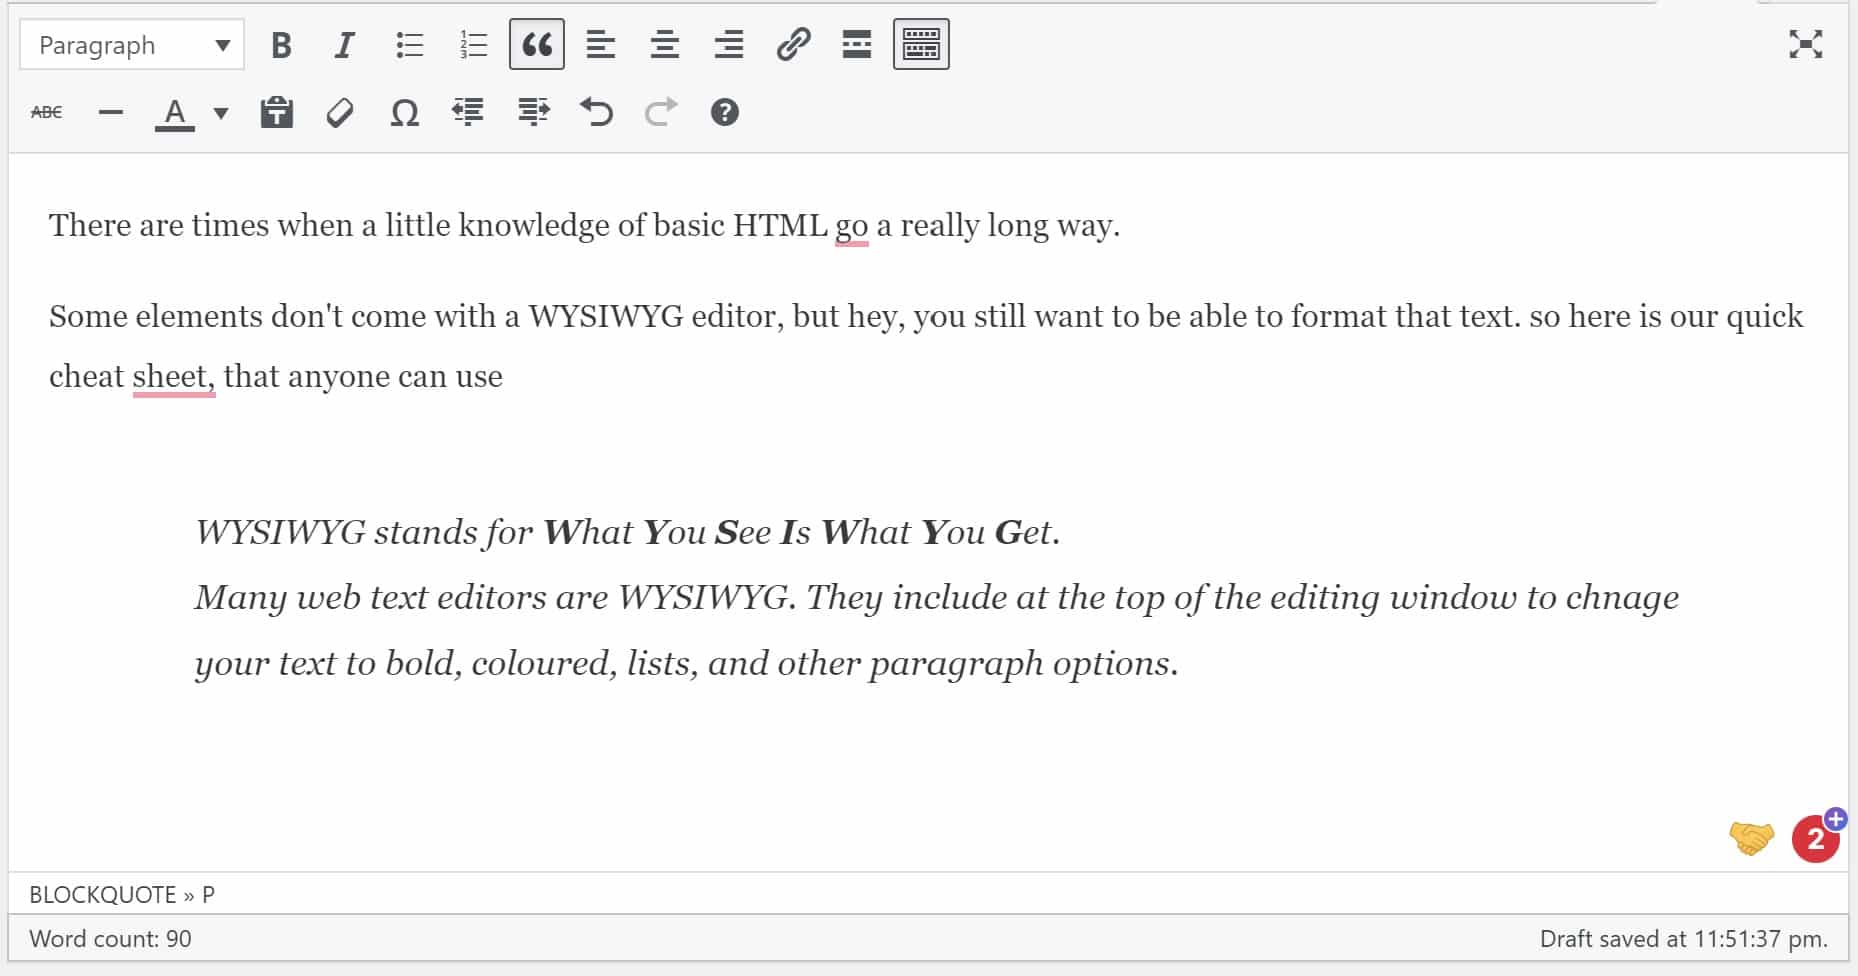
What’s great about WYSIWYG is you don’t have to know any HTML – you just simply highlight your text and click a button to format it.

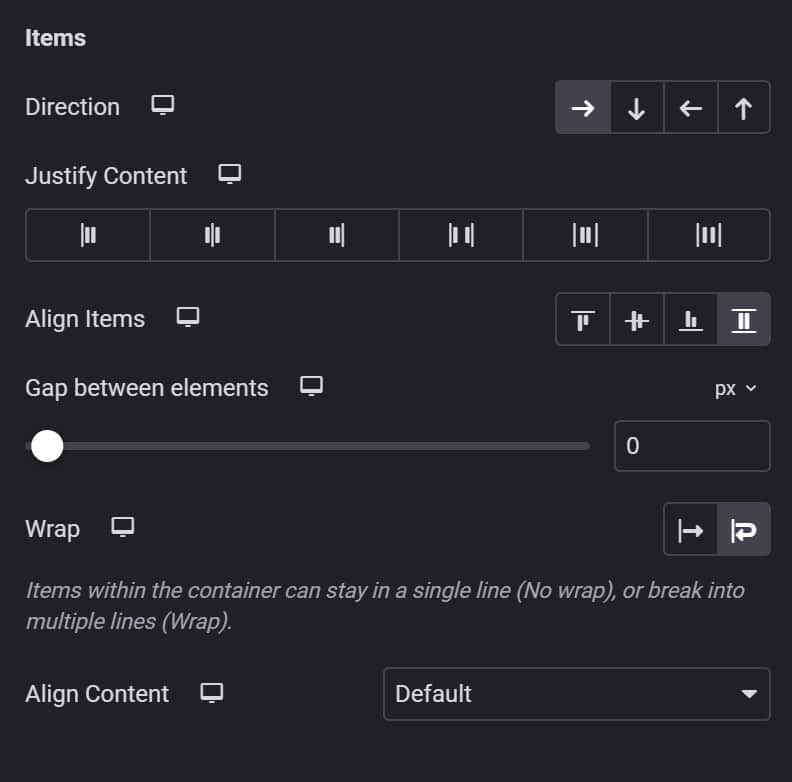
That’s great but certain elements (and I’m mainly referring to the elementor builder are not WYSIWYG.

Not to fear, we’ve got your back and are here to show you some super basic HTML so you can add this formatting without WYSIWYG.

In our experience, the main things people want to change in one of these boxes is

  1. Creating a ‘return’
  1. bolding of some text (or italics etc)
  1. color change of some text.

With most of these WYSIWYGless elements, they put their functionality to add links, or change the whole of the text elsewhere in the elementor window, so the above are what we will focus on today.

1. A return, hard return, line break - <br>

You are very likely to want some of your text to sit on the following line. If you hit return in the window, it will do nothing. this is because it is effectively a HTML editor. You will need to use HTML to add any formatting.

We create a break with the use of <br>

You can use <br> multiple times in a row to create breaks between text. But try not to use this to create space where margin or padding is better used.

example.

Meg Claridge
Web designer

this will look like this:
Meg Claridge Web designer

example.

Meg Claridge <br>
Web designer

this will look like this:
Meg Claridge 
Web designer 

2. bolding and other formatting

It’s pretty common to want to bold or italicise your text. If you don’t have a wysiwyg then you can ‘wrap’ your text in bold or italics tags. 

<b> is for bold

<i> is for italics

wrapping text means adding the tag at the start of the text and closing off the wrap at the end of the text

example.

Meg Claridge is a Web designer

here is how you make that  work

<b>Meg Claridge</b> is a Web designer

<b> and <i> are opening tags

</b> and </i> are closing tags

want to learn the basics? 
Don’t fear the internet provides some fun videos

http://www.dontfeartheinternet.com/02-html/

3. Adding color

This is a little more advanced. You’ll need to be either ok with some basic color options, or know the hex or rgb value of the colour you want. 

like with the bold and italics tags, you will be again wrapping your text.

There’s a little bit of css in here too.

example.

Meg Claridge is a Web designer

here is how you make that  work

<span style=”color: red;”>Meg Claridge</span> is a Web designer


You can have multiple tags on the same bit of text.

Another one for you if you are ready. Adding text links with html.

so you’ve got the text ‘click here’. Let’s turn that into a link.


<a href=”the url”>click here</a>


in the below example this code looks like:

<a href=”https://www.aptly.au/”>click here</a> to go to our home page

Click here to go to our home page


email addresses look like this

<a href=”mailto:meg@aptly.au”>email meg</a>


phone numbers

<a href=”tel:6141231232″>call meg (not my real number)</a>

This barely scratches the surface of what is possible with HTML and CSS. 

If you are new to html and css and what to get a basic understanding, i do recommend watching these videos as a starting point: http://www.dontfeartheinternet.com/

Want to go further and learn more, Codecademy has free options for introductory classes on html and css. They offer a practical course where you see html in action live as you code.

Some More Cool Projects

Sharing is caring

©2024 Aptly Pty Ltd – Web Development – Brisbane, Australia